
This article was originally published on Medium.
I was sitting at a local restaurant enjoying the company of our friends and neighbors when the phone rang. The bartender dropped what they were doing and ran over to it. The bartender tilted their head to the side holding the phone between their shoulder and their ear. They begin speaking into the phone as they were pouring a drink for a patron, “Yes… Yes that’s right… Music every night… We open at 4pm... Thank you.” Click.
I must have had a pretty stupid look on my face because the bartender looked at me and said, “What? It happens all the time. That’s pretty much the only call we get.”
I started thinking, “Why the heck don’t you automate that? How much time do you spend answering the same question?” So I am here today to help those out there that may want to avoid those conversations through automation. Anyone (yes, even you!) can set up their own call center in just minutes and have it forward to your existing phone line for when someone really wants to talk to a human. Plus, because Amazon Connect is a pay as you go service, it may only cost a few bucks a month.
1. Set Up Your AWS Account (If Necessary)
This may or may not be obvious, but you’ll need an AWS account to do this. You can set up a new account pretty easily from https://aws.amazon.com/. Just make sure you follow good practice, don’t share your password with anyone, set up a separate user account to log in to, and always use multi-factor authentication (MFA).
If you need help getting all that configured, there are tons of resources out there and I may write one myself soon to get you started.
2. Create a New Amazon Connect Instance
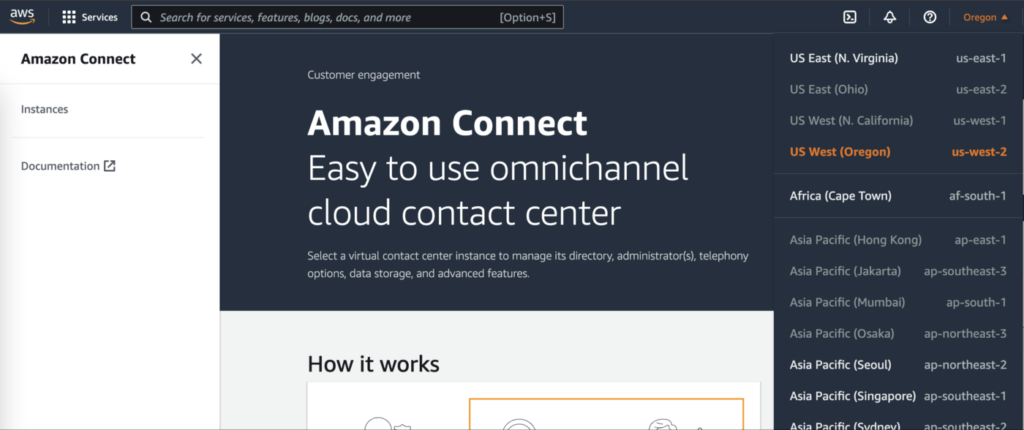
Once you’re logged in you can go to https://console.aws.amazon.com/connect/ or you can search for “Amazon Connect” in the search bar at the top of the screen. Be sure that you’re on a region that makes sense for your call center. You can find the region options at the top right of the screen. Pick a region that is close to you or your callers.
Keep in mind that only certain regions support AWS connect so it may be best to stick with N. Virginia if you’re in the USA.
This should take you to the following page where you can click on “Create Instance”.

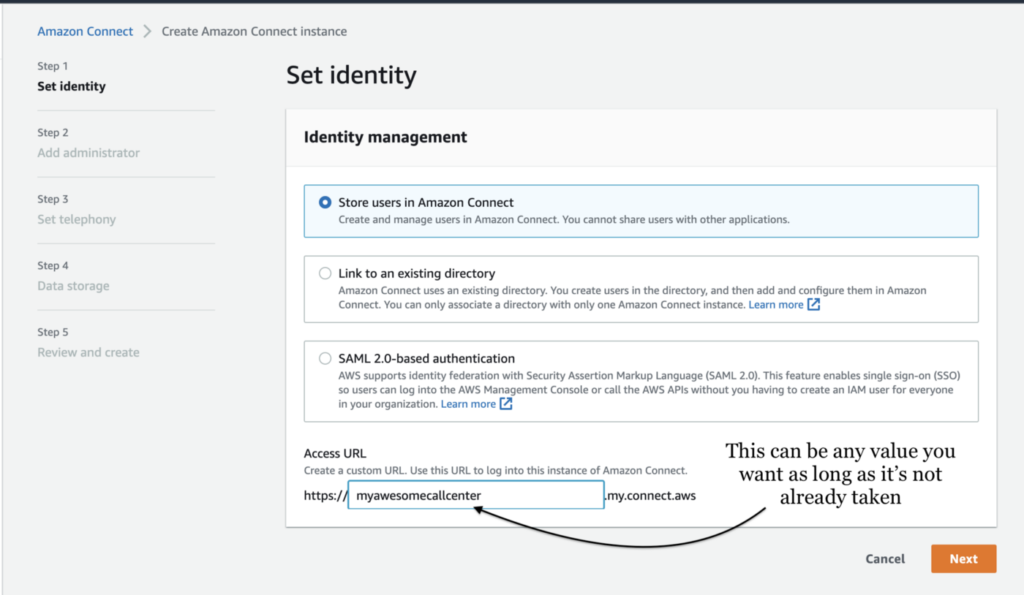
Give your call center a name and choose to store your users in Amazon Connect.
Next add an administrator (optional but recommended) for your contact center so you can have someone that holds they keys to the kingdom. Don’t worry if you don’t set this up now. You can set this up later.

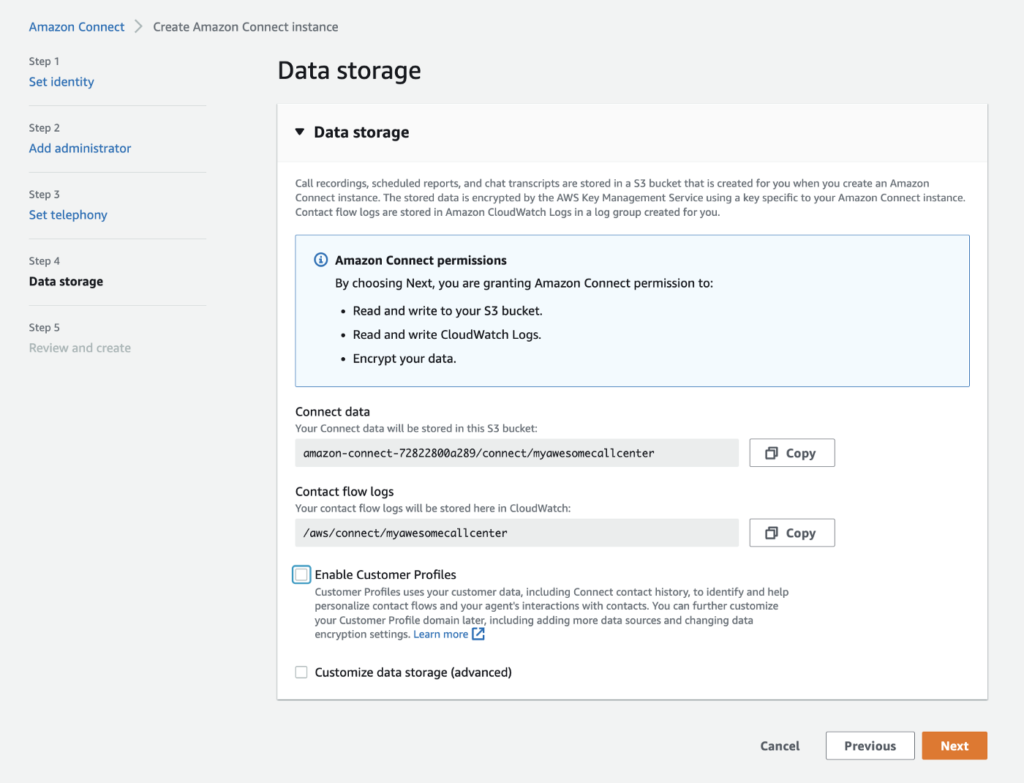
Once you have an admin, go through the next couple of screens making sure you uncheck outgoing calls and customer profiles. We won’t be needing either of those for our call center.
If you’re curious, I highly recommend looking into the customer profiles option, though. There are some pretty great things you can do with that feature if you want to set up a robust contact center with personalized experiences for your callers.

Ok, now review your changes and create the instance. After a few minutes you should see the link for your instance turn blue and it is ready to configure. You’ve just created your very own contact center!
For those sticklers out there, I didn’t calculate the time it takes AWS to create your instance as a part of the set up time. Take a stretch or grab some coffee while it’s getting set up.
3. Set Up Your First Contact Flow
Click on your newly created instance and then click on the “Access URL” link on the next screen. This should take you to the log in screen (or to the connect dashboard if you’ve already logged in).
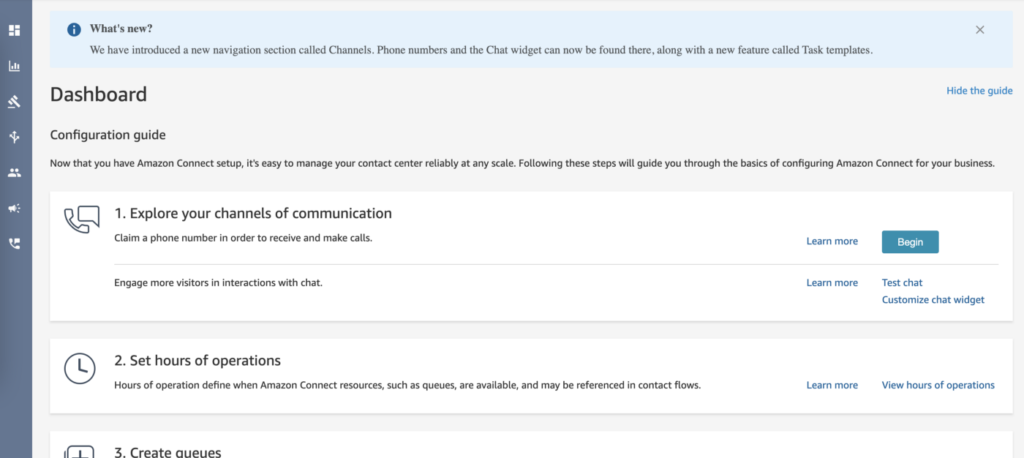
From the dashboard, navigate to the Contact Flows menu item to begin creating your own contact flow.

A good question you may ask at this point is, “What is a contact flow?” Simply put, a contact flow is the logical flow your caller will experience when they call into your contact experience. Keep going in the tutorial and it will make more sense later.
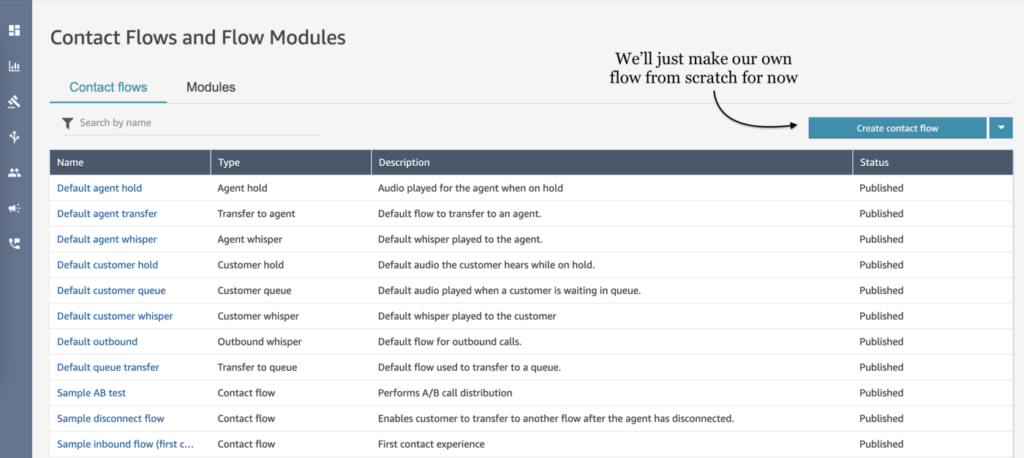
On the next screen you’ll see a bunch of already created flows for you. Cool! For our purpose, we only need a really simple one. We could use one of these flows as a template, but let’s just make a new one from scratch for now. Later you can go back and see how other features can be implemented using Connect.
Once you’ve created a new flow give it a name like “My Restaurant’s Welcome Menu” by typing in the name where it says “Enter a name”.
Now, this is where things can get fun and scary at the same time. There are a lot of conventions that I would tell you to do at this point if you were setting up a contact center for a large company like setting up logging behavior, choosing the appropriate voice and language, configuring analytics behavior, etc. But all we want to do is allow the caller to get information about our restaurant so we’ll stick to defaults for now.
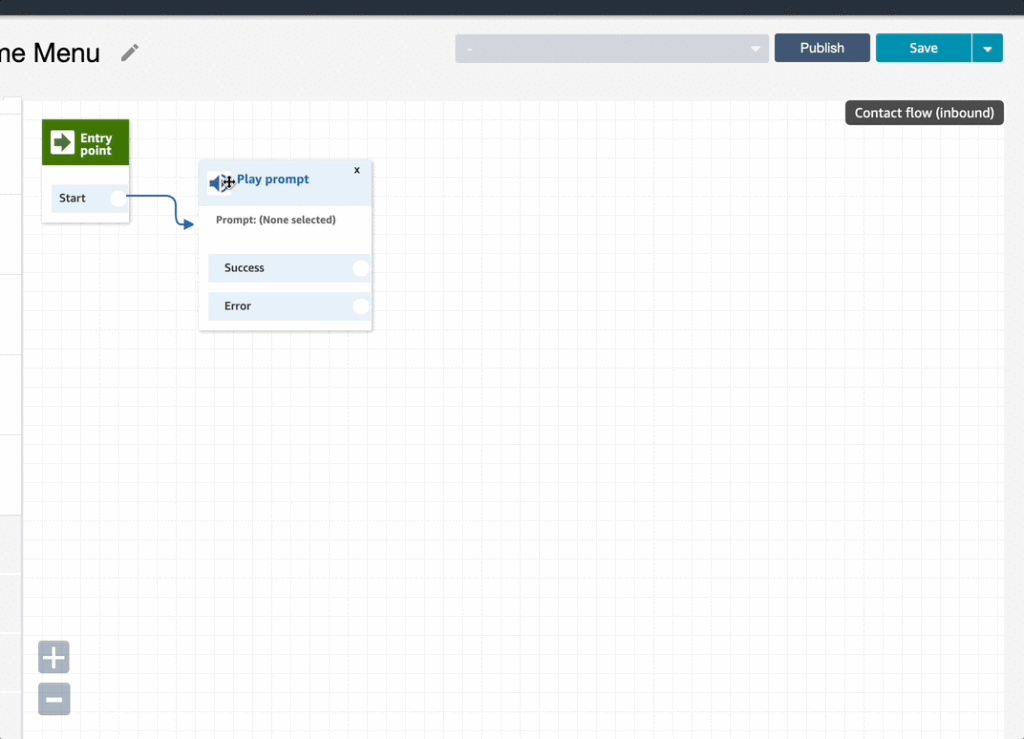
Since we’re not going to do anything fancy, let’s start with a Prompt. A prompt is a way to give your users a message like, “Thank you for calling our restaurant. Our hours are…”
To add a prompt, select “Interact” from the accordion menu in the sidebar and drag and drop the “Play prompt” block onto the grid. These options are generally called contact blocks. You drag and drop contact blocks onto a canvas to arrange a contact flow.
Once the contact block is on the grid, you’ll need to connect the Entry point contact block to the Play prompt contact block to create the flow.

Great! We’re getting something that’s starting to look like a flow. Now let’s add some text to that block so we can tell the callers a little about our restaurant.
Click on the Play prompt contact block near the top. A menu should open up to the side. Select the “Text-to-speech or chat text” radio button and paste the following text into the box:
Thank you for calling our restaurant. We are open every day at 4pm except for Sunday and we have music every single night. Please stay on the line to speak to someone at the restaurant.
Leave the rest of the options the same and click on “Save”.
Now we follow similar steps from above to add Transfer to phone number, a disconnect block and another prompt that lets the user know that something went wrong and they can call back later.
For the transfer to phone number, you’ll find it in the sidebar under the “Terminate/Transfer” accordion. Once you drop it onto the contact flow, click on the top of the transfer contact block to open the sidebar menu. Add your phone number with the country code and save the block with the rest of the values left as default.
You may have noticed that the transfer block has a Call failed, Timeout, and Error option. Don’t worry too much about these now. We’ll connect them all to the same error message before disconnecting. Use the below screenshot to guide you as you set up the rest of the contact flow.
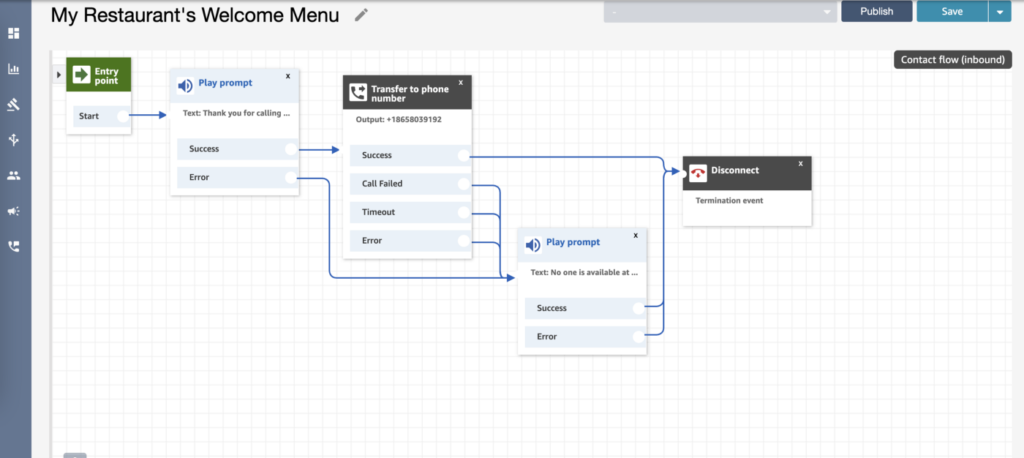
Now once you’ve got all your connections in place, save and then publish your contact flow.
I want to stress again that these aren’t necessarily the best conventions and this flow should really only be used for learning the basics.
Great! We are very close to being done. Let’s get a phone number, hook it up, and test it out!
4. Get Your Phone Number and Connect Your Flow
This is probably the easiest part. What we’re going to do is get a phone number that we can connect to our new contact flow and give to our customers (FYI this costs a small amount each month).
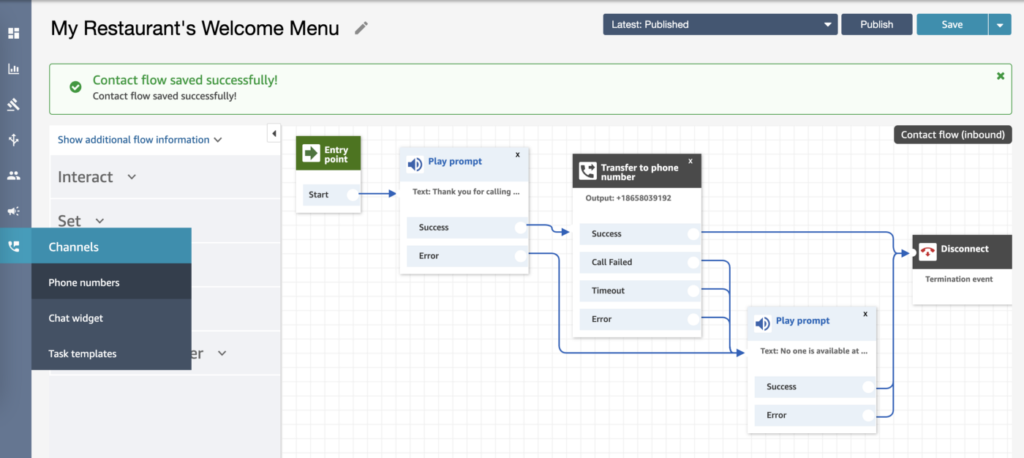
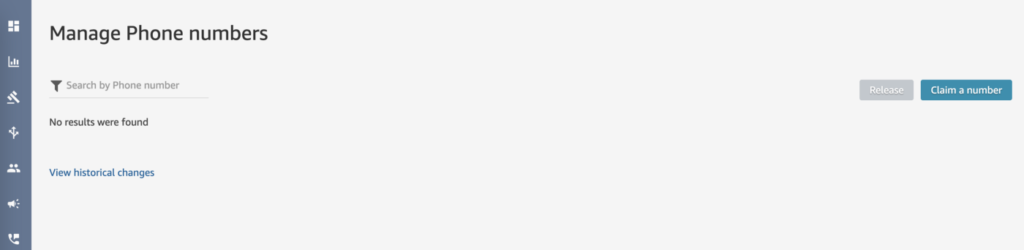
From the sidebar, click on the “Phone numbers” menu item. From the next page, choose the “Claim a number” option on the right hand side.
On the claim a number menu you’ll have an option to choose what you want you number to be with a specific country. You can even choose a specific prefix for the number if it is available.

After you select a number, give your phone number a nice description and select your contact flow from the dropdown under “Contact flow/IVR”.
If you don’t see your contact flow under the contact flow menu, make sure you’ve saved and published the flow from the contact flow screen.
Once you’ve saved your phone number and it’s connected to your contact flow you can now call your number. You should hear your message and the call should be transferred to the phone number you put into the transfer block. Done! So now when someone calls the restaurant they should be presented with the hours and information before ever being sent to the poor bartender that probably spends half of their time telling people that they are open.
If you’re feeling really ambitious, there are ways to hook up this call flow to other sources of information like your website, instagram, twitter, etc. That way you can get dynamic information like when hours change, what band is playing, and so on. The options are limitless!
Happy building.


